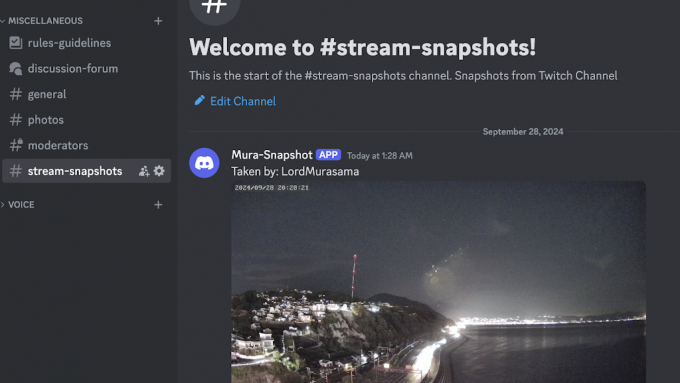
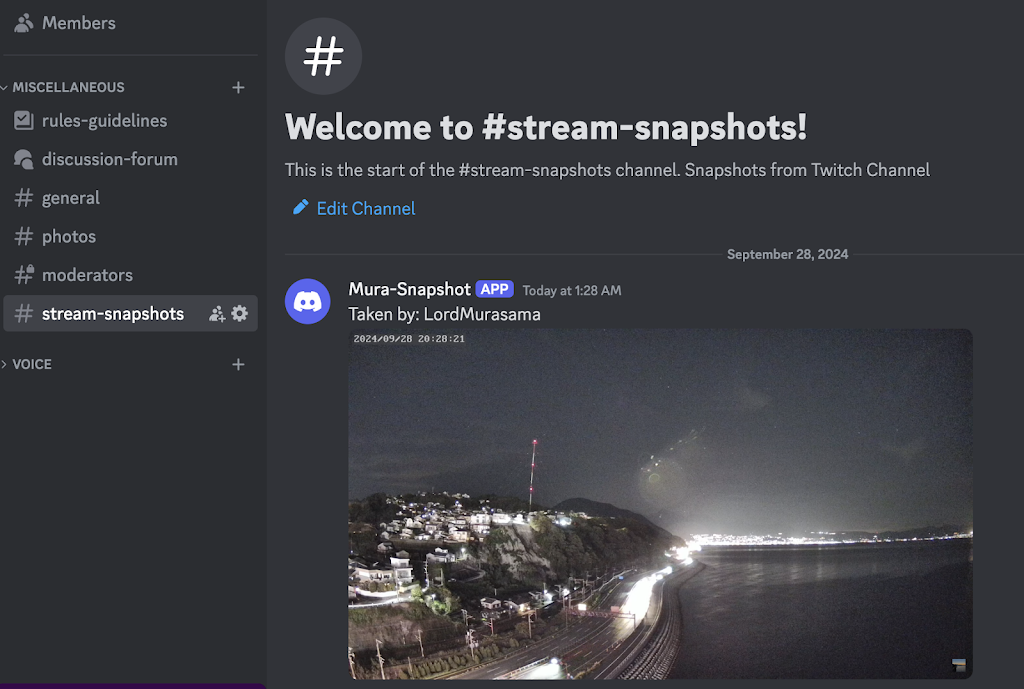
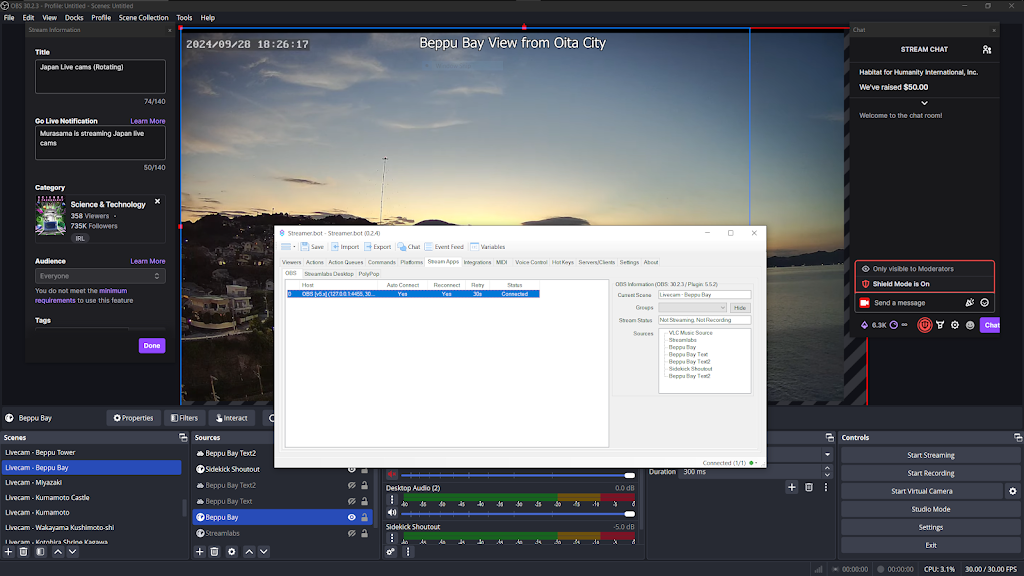
This tutorial is for a channel point redeem that takes a screenshot of a camera source (raw) from a selected scene in OBS Studio (using Streamer.bot), which is then posted into a channel on Discord. Capturing a screenshot with all of the overlays is slightly more complicated requiring referencing a previously defined scene (and is not covered). Similarly, an on-stream visual/sound effect are also not covered.
An importable action script is located at the bottom (though I recommend also reading through this to see how the script actually works).
Please see the note in Step 6 regarding the security considerations of running this bot.
Note: this requires an OBS setup running on a Windows based PC since Streamer.bot is a Windows only application.
Step 1: Download Streamer.bot
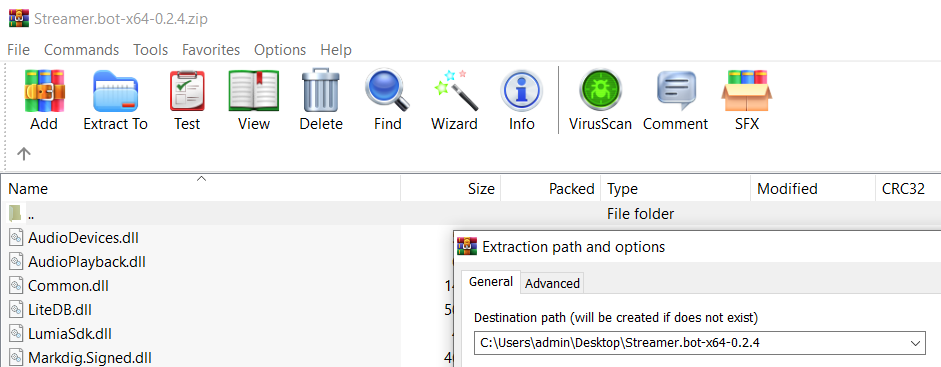
Step 2: Extract the files from the downloaded zip file into its own folder.
Note: Feel free to make a shortcut of Streamer.bot.exe to the desktop. Streamer.bot needs to be running along with OBS Studio for the programmed actions to work while streaming. It can set to run minimized in the System Tray in the Settings tab.
The following steps will connect Streamer.bot to OBS and Twitch.
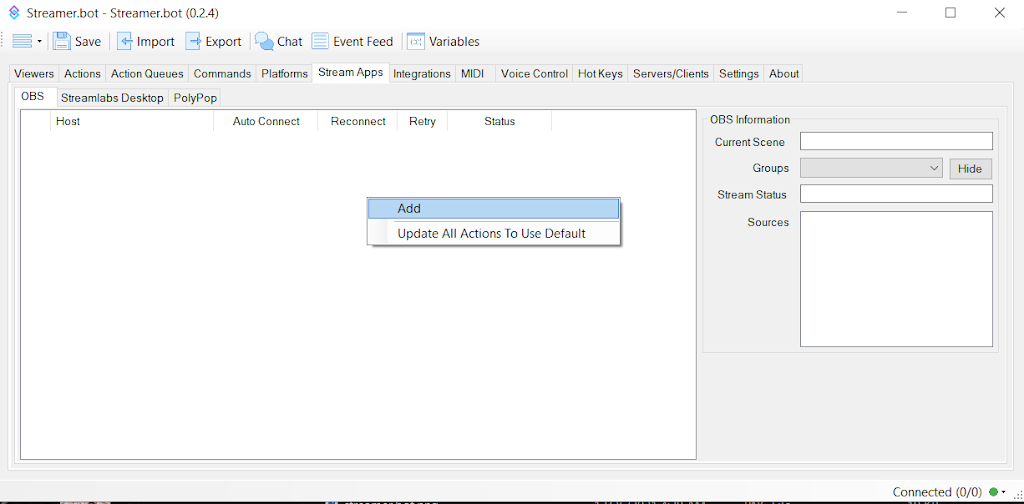
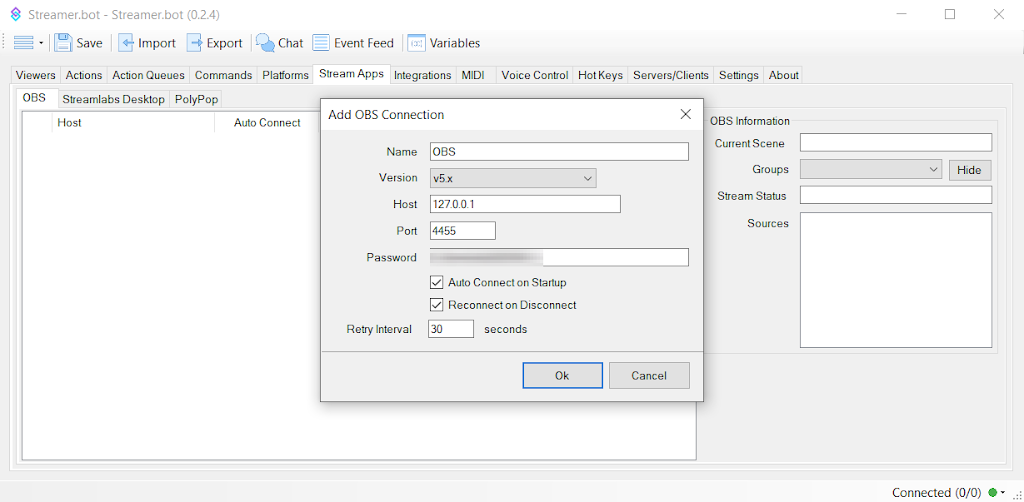
Step 3: Launch Streamer.bot, select the Stream Apps tab, select the OBS tab, right-click and select Add (this is to connect OBS to Streamer.bot).
Note: the screenshots are from the older pre-1.x.x version (the 1.x.x version has a better looking user interface but functions the same way).
Step 4: In the Add OBS Connection dialog box, select v5.x. The rest of the information needs to match the one in OBS for its WebSocket Server settings. Host will be the localhost 127.0.0.1 IP address (if OBS is running on the same machine as Streamer.bot). The port will be 4455 if it hasn’t been changed in OBS and whatever password that is set in OBS.
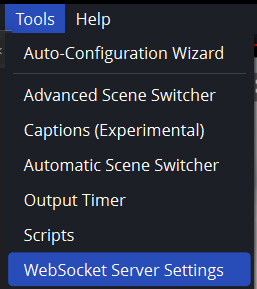
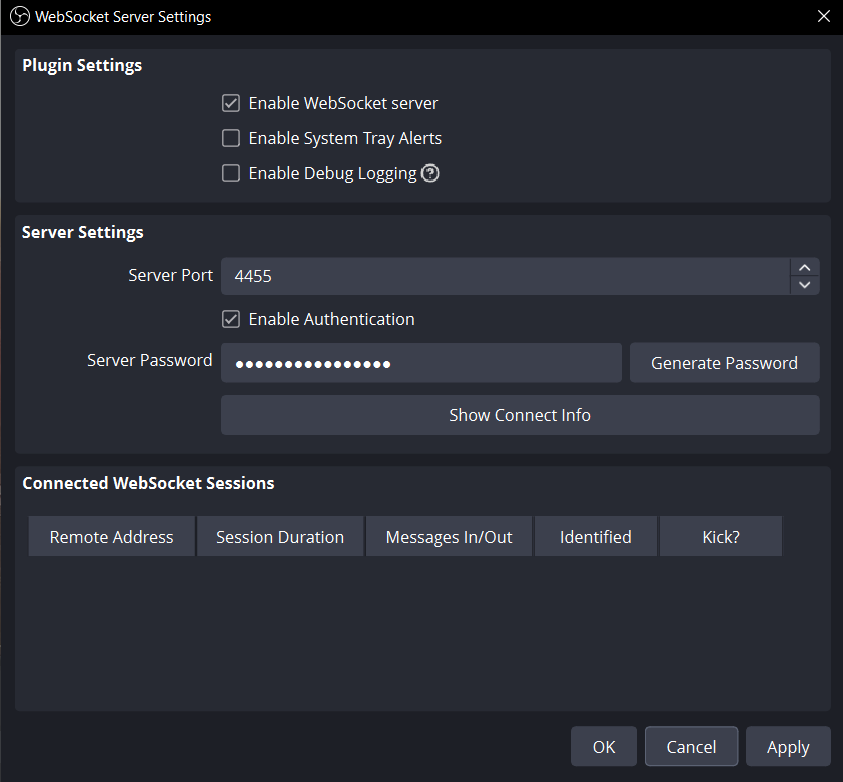
If this step hasn’t been done before, the WebSocket server needs to be enabled in OBS with authentication enabled. Go to Tools > WebSocket Server Settings.
If this has been enabled before (like for controlling OBS via noalbs), click the Show Connect Info button to see that information including the server IP, port, and password (which needs to be input into Streamer.bot in the above).
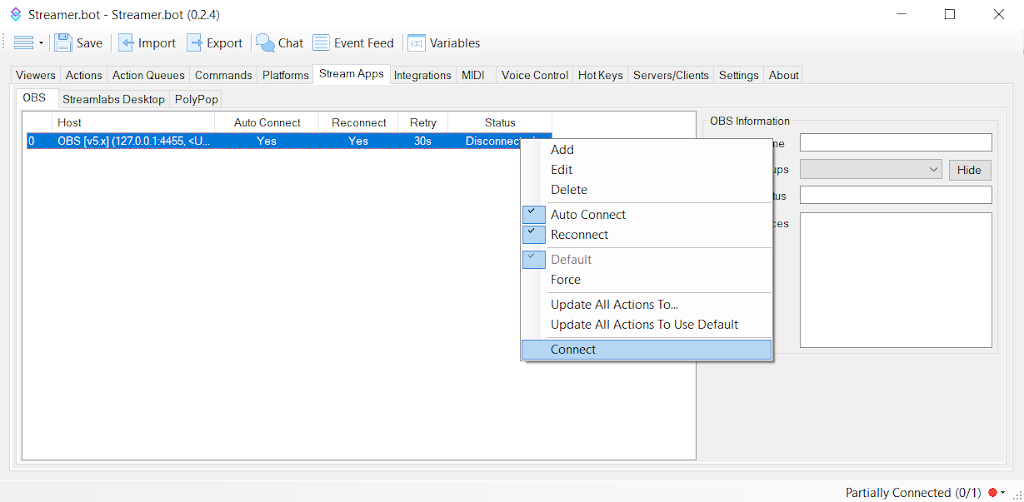
Step 5: Connect to the OBS Websocket connection that was just created in Step 4.
Once connected, Streamer.bot will also display the current scene and its sources on the right side.
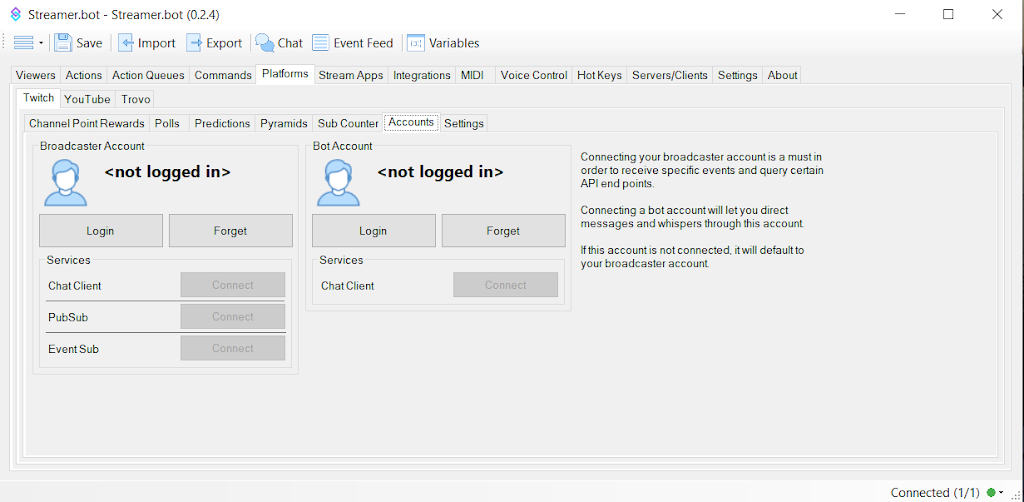
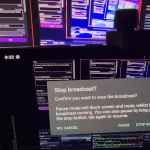
Step 6: Connect the Twitch account via the Platforms -> Twitch tab. Click the Broadcaster Account Login button.
A web browser will open (login to Twitch if not already logged in). The following authorization information will be displayed showing what Streamer.bot will have access to (it is quite extensive so make sure you are aware of the security considerations and are comfortable with all of this access/actions the bot will be able to perform). Compared to other bots, this one is definitely more powerful (which means it also comes with some security risks).
Because of this, I can only recommend this bot (which allows this screenshot feature) be used by streamers who are technically proficient enough to understand what all of these steps do (I would definitely not allow anyone else to remote access into this streaming system for example to help get it setup).
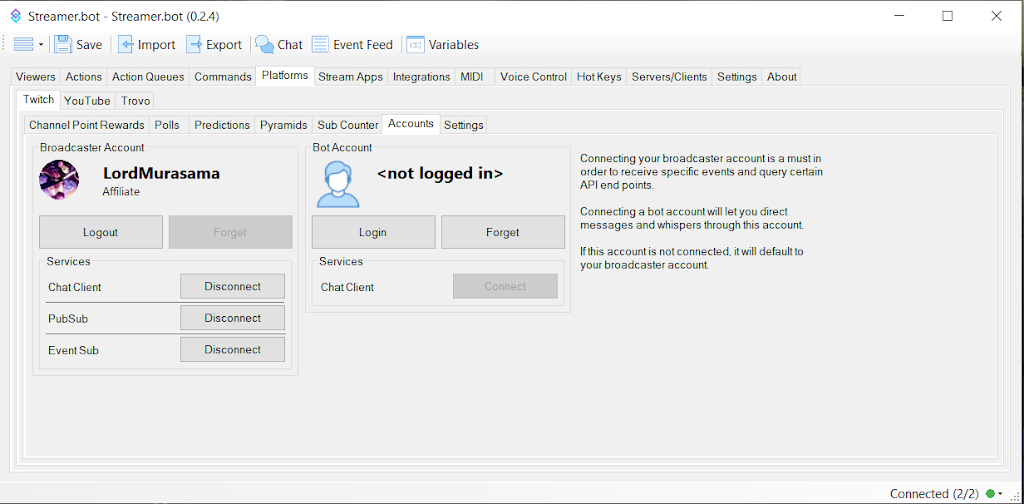
Once authorized, your account should be shown along with the services that are connected. This concludes the initial OBS and Twitch connection setup.
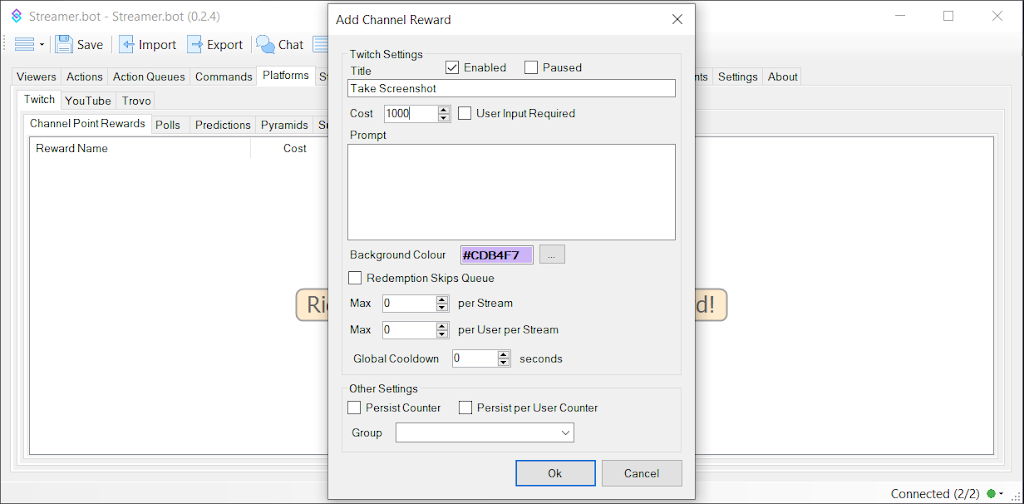
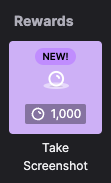
Step 7: Select the Channel Point Rewards tab and right-click to Add a reward (this will be used in a later step). This example uses Take Screenshot for the Title and a Cost of 1000 (channel points). Recommended changes include setting maximum number of redeems per stream and per user as well as a global cooldown to prevent spamming as well as too many screenshots being taken during a stream.
The following is the setup for the Discord channel and Webhook (OBS and Discord integration).
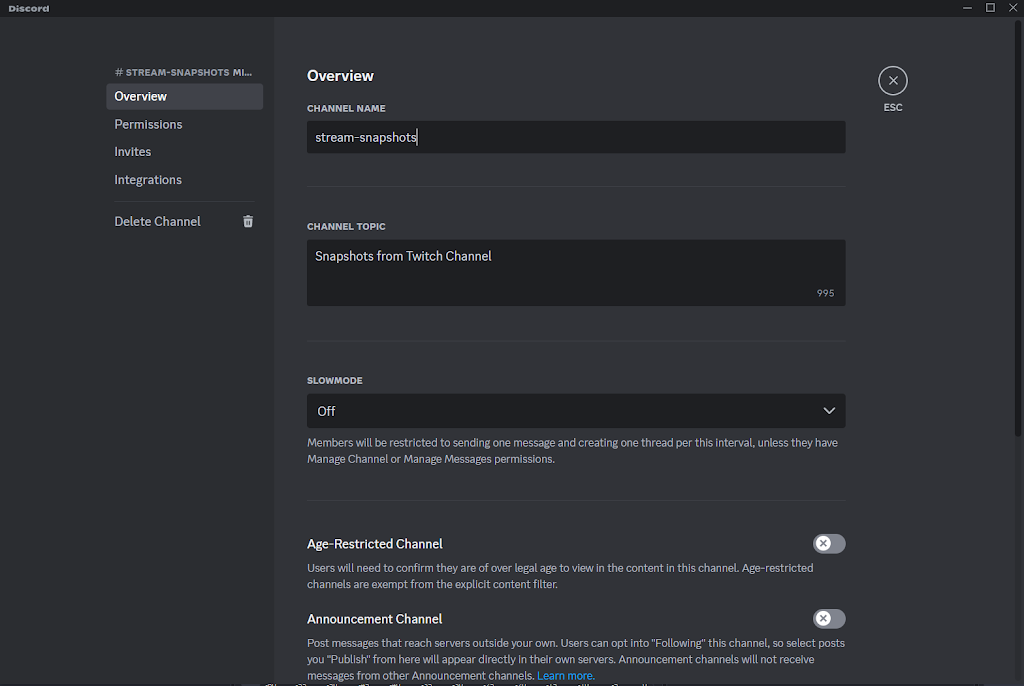
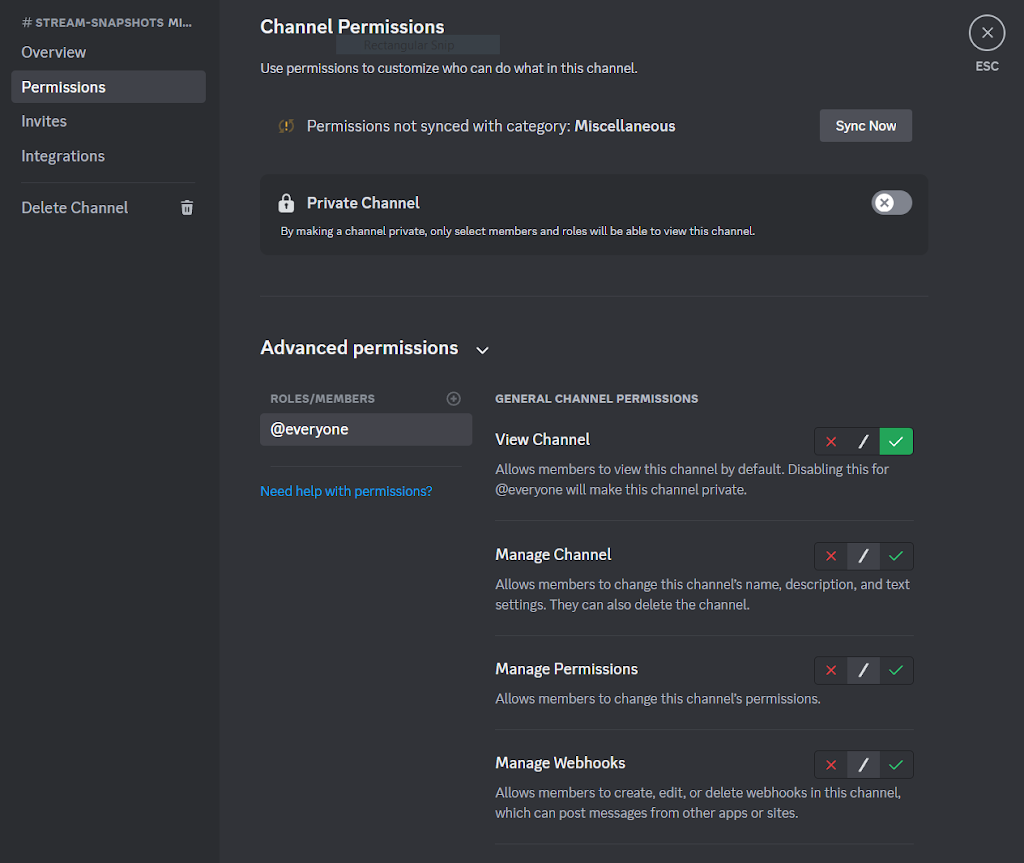
Step 8: Create a new text channel on Discord. Make sure @everyone has only view channel permissions (optional is allowing reactions) in advanced permissions. Optional is giving access to moderators to Manage Messages (in order to remove potential problematic screenshots, extensive duplicates, etc).
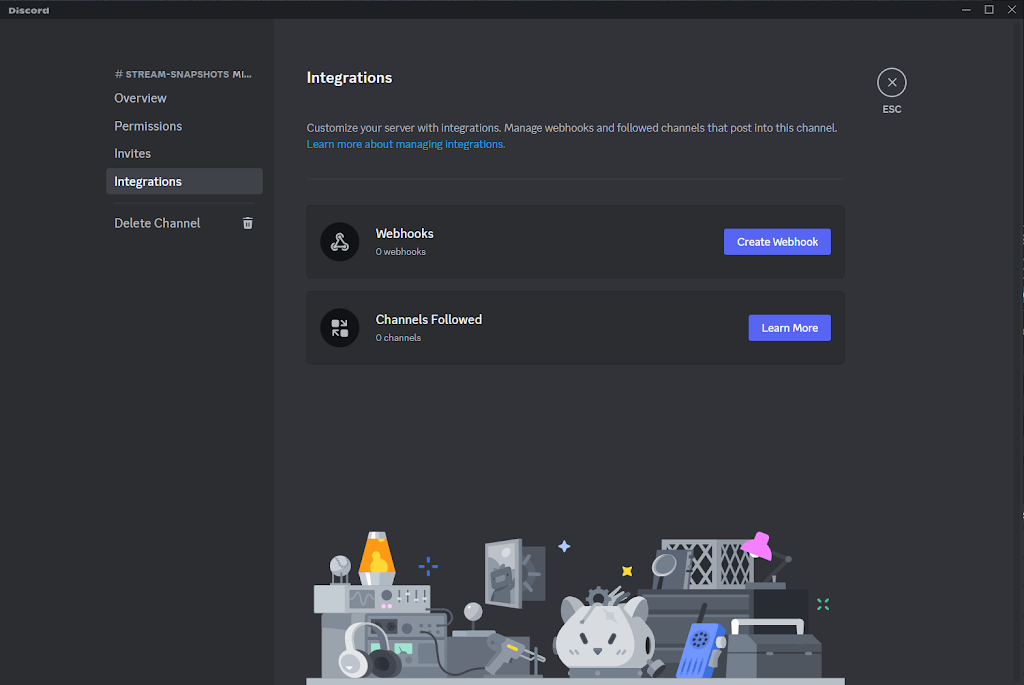
Step 9: Select Integrations after creating the channel and click the Create Webhook button.
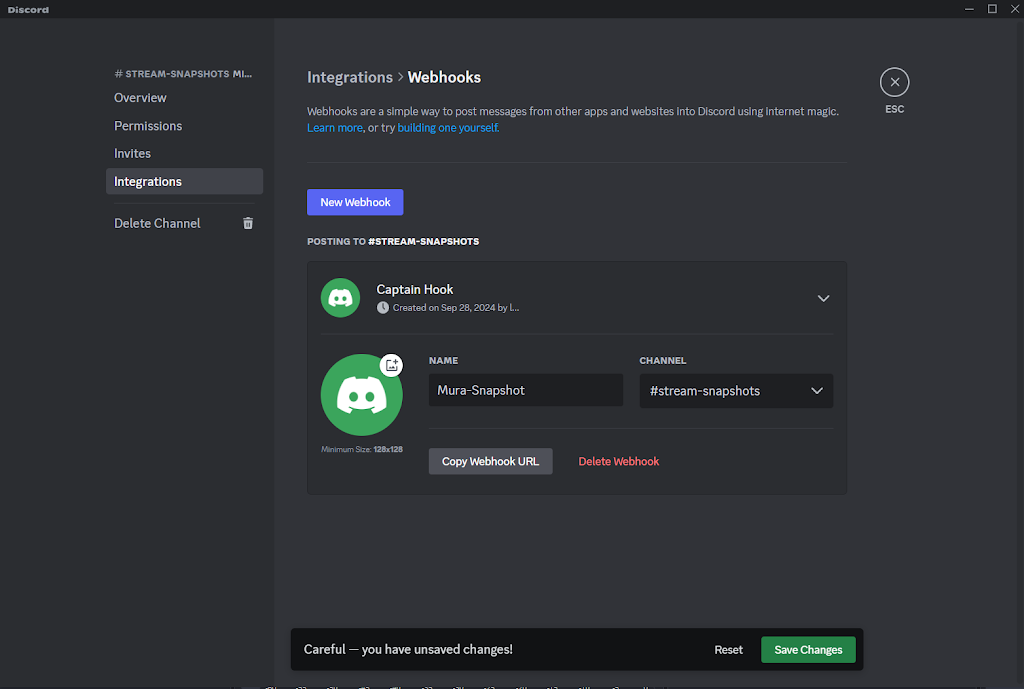
Name the Webhook to whatever you want (the name is what the “App” name will be in Discord) and select the channel that was created in Step 8 for the screenshots. Click Save Changes. Click the Copy Webhook URL button (this will be needed in Step 13). You may want to keep this open until Step 13 (in case you need to get copy the Webhook URL again).
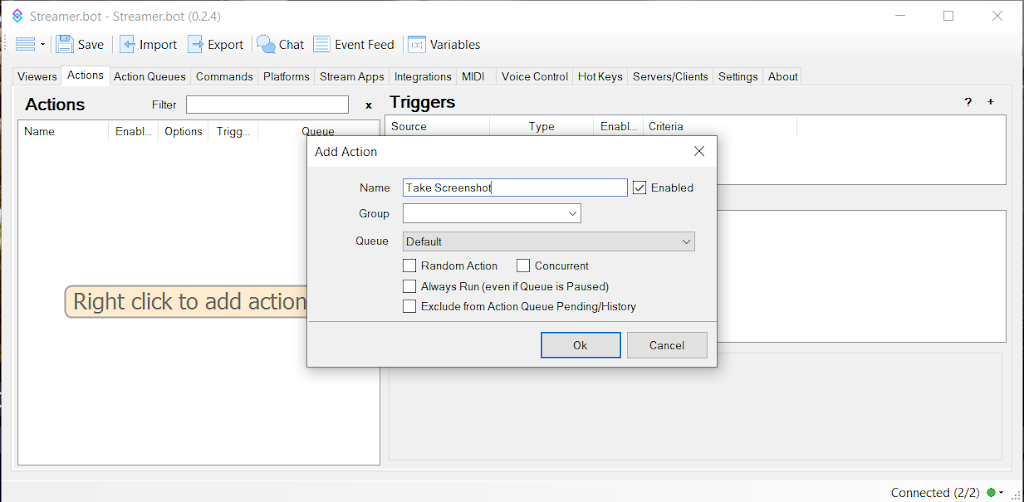
Step 10: Return to Streamer.bot, select the Actions tab, and right-click to add an action. Name this action to whatever you want (example uses “Take Screenshot”). Click Ok.
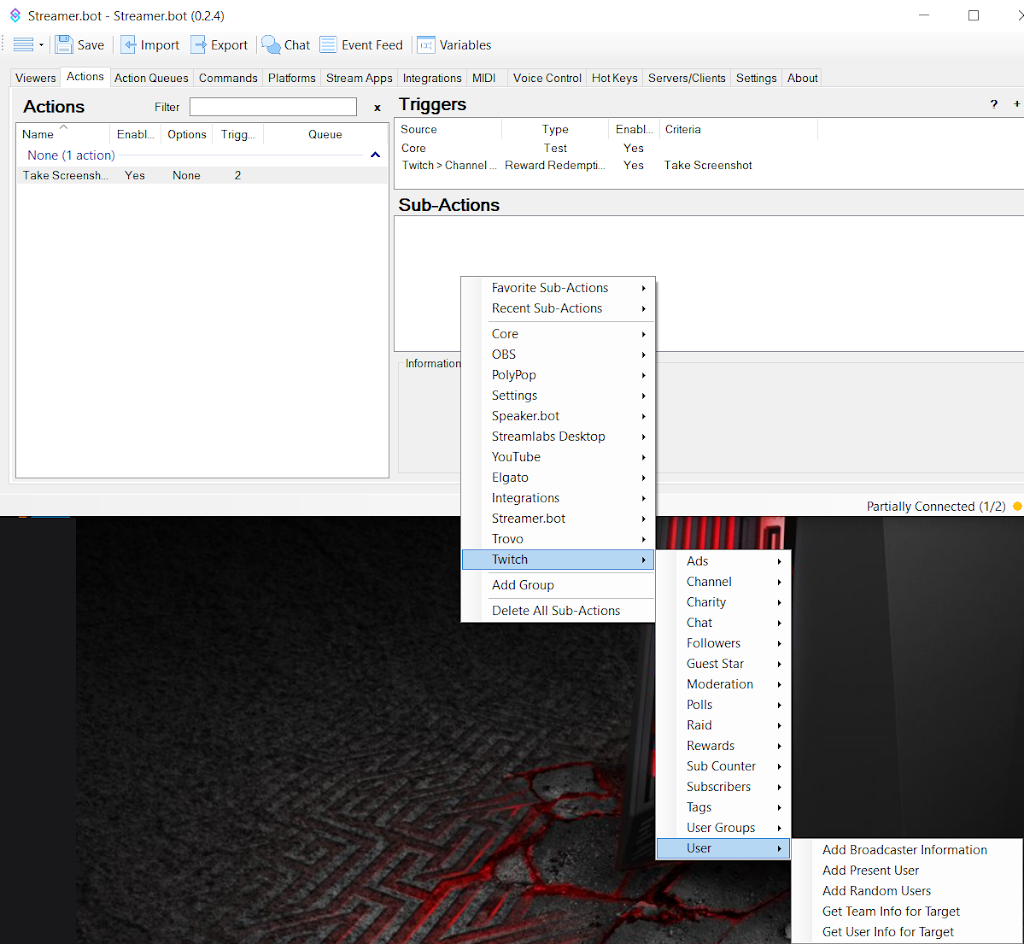
Step 11: Right-click in the Sub-Actions area to add a sub-action to get the Twitch username: Twitch > User > Get User Info for Target.
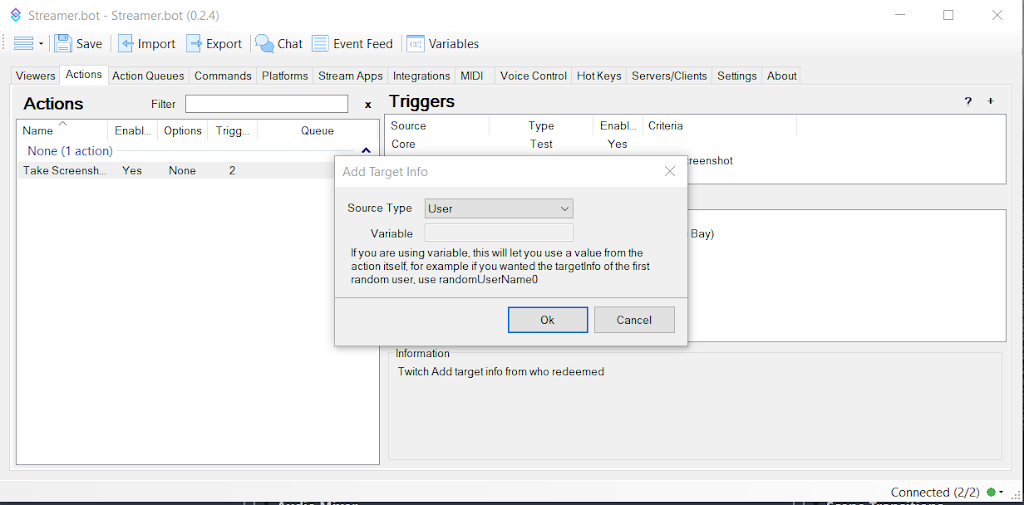
Select User for Source Type and click Ok.
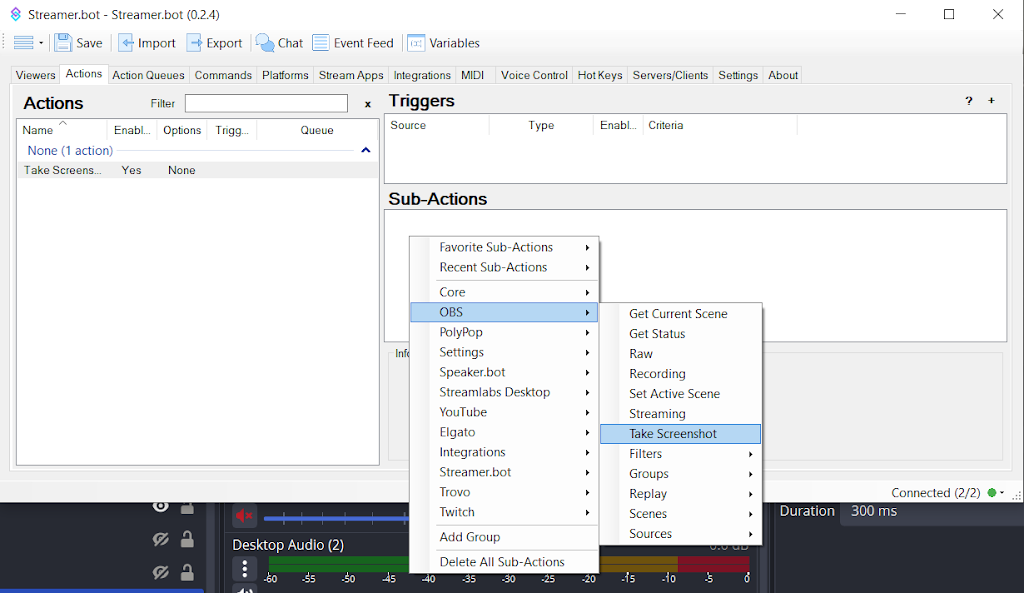
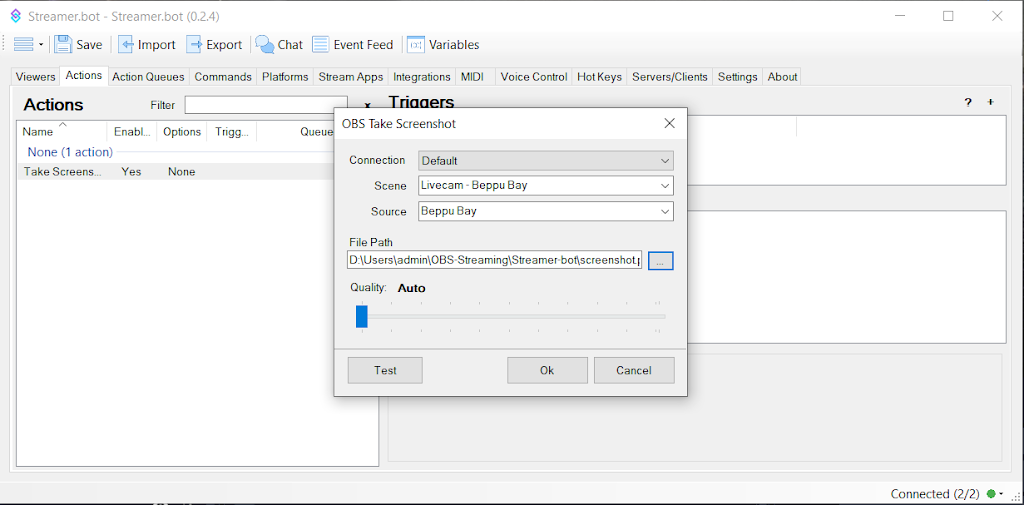
Step 12: Right-click in the Sub-Actions area to add the next sub-action to take a screenshot of a source in OBS: OBS > Take Screenshot.
Select the appropriate Scene and the Source to capture. The Streamer.bot application has a small issue where the filename being specified (in File Path) needs to already exist. I first created a copy of an existing .png file and renamed it to screenshot.png in the destination file path (via Windows Explorer). Once that has been done, click the box with the “…”, and navigate to the folder where the .png file was copied/renamed to, and select it. Click Ok.
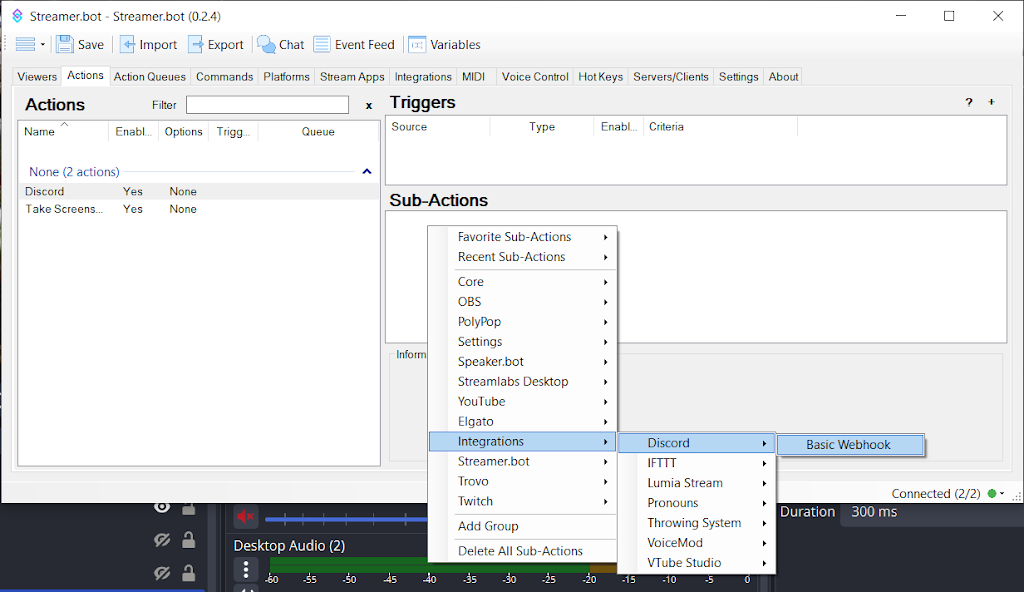
Step 13: Right-click in the Sub-Actions area to add the last sub-action which posts the screenshot taken in Step 12 to the Discord channel that was created in Step 8 (this sub-action is performed via the Webhook that was created in Step 9): Integrations > Discord > Basic Webhook
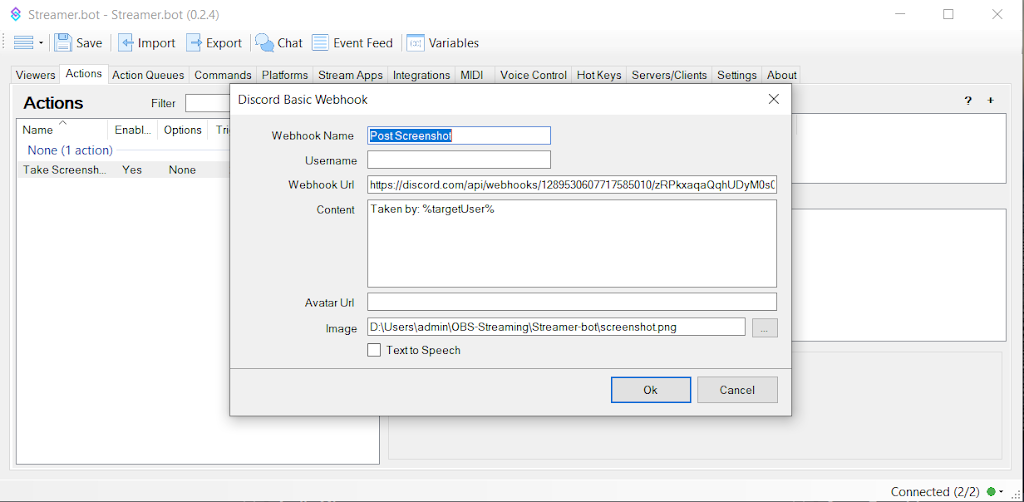
Webhook Name can be anything (example is “Post Screenshot”). Paste the Webhook URL that was copied from Step 9 (click the Copy Webhook URL button again if needed). In Content, enter Taken by: %targetUser% (this will be the Twitch username of the channel point redeemer) and in Image, click the “…” box and navigate to the folder where the .png screenshot file (from Step 12) is located and select it. Click Ok.
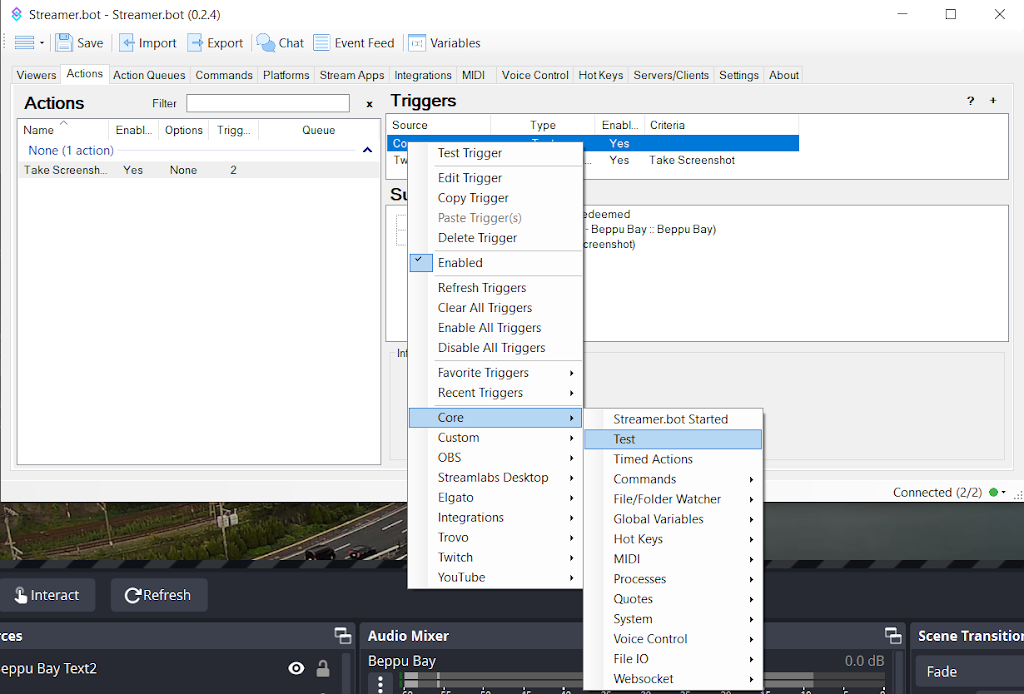
Step 14: Right-click in the Triggers area to add a Test trigger (self-explanatory; this allows testing the Take Screenshot (or any other) action: Core > Test
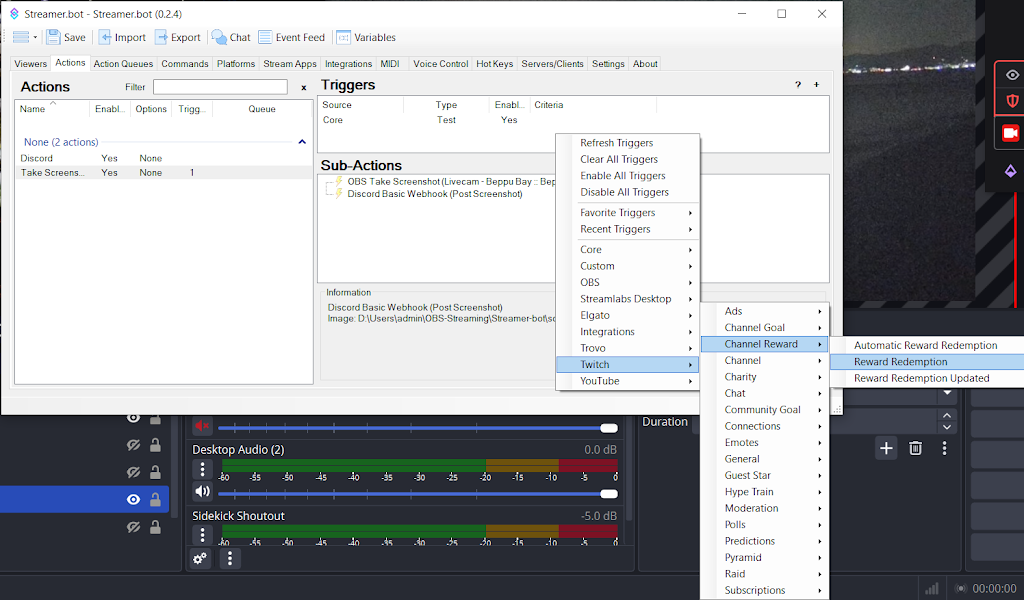
Step 15: Right-click in the Triggers area to add the Twitch channel reward redemption: Twitch > Channel Reward > Reward Redemption
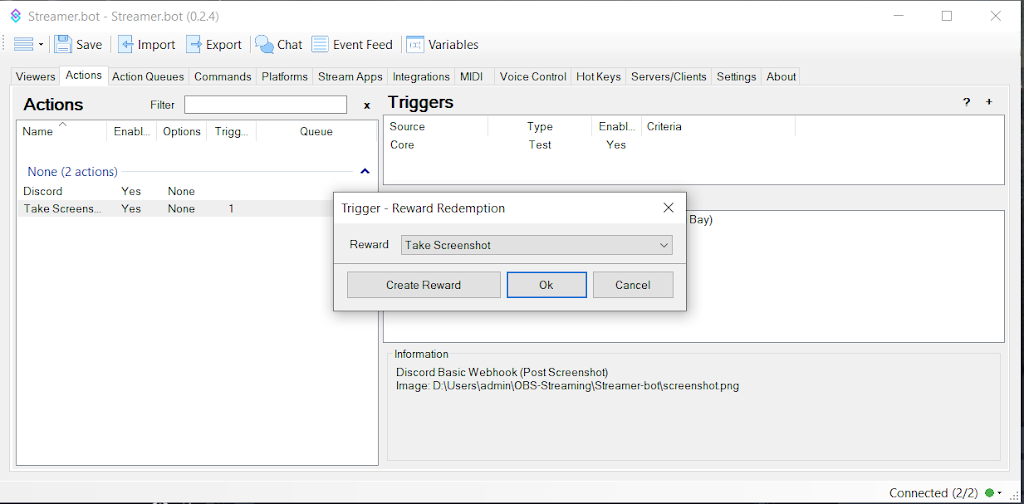
Select the channel reward (Take Screenshot) that was created in Step 7 and click Ok.
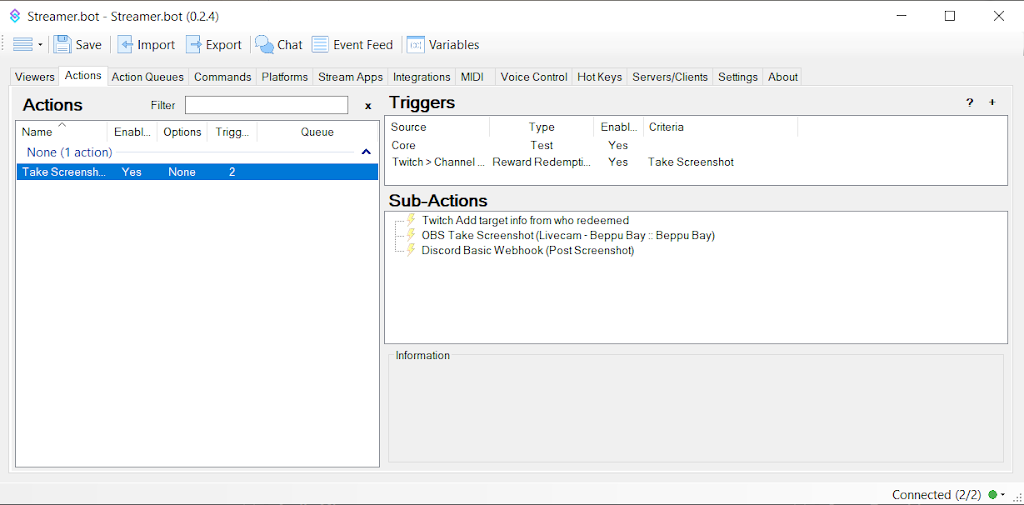
The completed setup will look like this (ignore the extra Discord action in some of the preceding images since it was only a test placeholder). Make sure the Sub-Actions are in this order (you can drag them around if needed):
Using the Test trigger allows checking to see if the sub-actions for the selected action works.
Head to your Twitch channel and click your channel points icon. The created channel reward from Step 7 should be displayed. Click to test and see if the redemption works (the point redemption shown in chat will be the only visual notification shown on Twitch since this tutorial does not include an audio alert or visual animation).
The following is the importable action script for the above. Copy and paste this into the import box in Streamer.bot. Two sub-actions need to be edited: 1) OBS Take Screenshot (select the live scene and the source and make sure to select the file path for the screen shot file noted in Step 12 above) and 2) Discord Basic Webhook (Post Screenshot) where you will need to add the Discord Webhook URL and the file path for the screen shot file (see Step 13 above).
U0JBRR+LCAAAAAAABACtVl2L2zoQfS/0P4hAoS1V8Lfl+1Za+gFtKc3u7cOlD7I0jsXaUirJ2Q3L/vcr2XE2jrNl72UdSCKdkTxzdGZGt8+fIbRowdLFX+jWD9xQ0hbccLFiGkCaWllkFXovDFOaL97srWhna6W93ddOU0NbeoC2oI1Q0mPhMlgGB4CDYVps7B68uBaW1YjVVEpo0EYJaZGGa6q5f6OlV4AoMvduUMmdlbFI9C7R0alxi2Pn1I9OvmX7V8muaUasFVK0Xfv3wUkPeuyut1hwOmGD9nsYN/PPMINGqIcF95GwCtIqDwjOqzLDCXCCyzRJccFZnLO04lV8YK5f9ruDDqaO9fMgadmA39PqDibIDWs6Dh+0aj8JY5XeOaOKNmZiNZ7dhefu6ABfrlSnGbyaOLHWqtt468ksba7pzjj2zu2v3RGo9sDrDGdKsk5rkPYcarVYrx3vx2SeEDoIiGrhefCGt3dvTtCB8pTneRCmBGdhkeAkZAkuWQGYVElZlDTP4rxanC61u42nJw+iU+RB4u/JN6MOfh2jU/dOIxnU/Ln3OKwoSVIGOM2L2HlcBJgkAcc5iWkRFTxjVTzzeAiWJ7ELK64wKWOGE5JHuAyc3DhEWUbyjAFkDwUbhk8Y7P3g10Qz8yQ5x4ZhIOHbWF6sBvdXL0unT+zE6rAjyc7CMb2Cx9VfxBYYbfFPKq7cJ8LvVOtKg7AwW7ihtvZLXr9GX31amE6DLx813brfWpih8gi57ouKRHDjEswPv3/7iCrRzLf83dFGWJ+BRXCKuRSQ0PMxHHuwf/CZr/F54NgDiPIyLyqcsiDHiRM8JozEuExIVECSkiouZ0uvQaxrn36u8j4giYScAmMpOKlHgx7+qBYhOdx4mT0+KcYi9d2X8j8deWdAj8Zn4ixrpa4udbM/3Leco50TyaEr/Bws0OWPL6hydROtLGxQMdvJnZgdKlZfNyUqd+iFpXoN9tJ58GJ+Oi1dwxNLim5d39FnI7VwYy/UagPA6jNldXCpFwxAACGEIeY0c30oS0NcVKR0zSiNqsi1Iijm4T9CMHkQhE8vmejxkhmS/2Jf0U43HPvFWfYGZkjIY5LzArMSiO/QCabAAVNXkOMqCksaRv+HmXQGnO2q/4GV4PEF96N/1VClp024aejGAD/CR3i/4Wg/XEQmW7jlbeva/HTSZZtR7ArsCvR238Ln4LtGuESagla0o/3RLev+jhgODLq2s1HaAvc3nL74LaNlMnA4v7MNKC7dzXWZLZ4/u/sXS19uzMoKAAA=